
Congratulations! You have connected to your remote Denodo Platform instance.
Now that the instance is running, you must download and install the Denodo Platform client to access it. The Denodo Platform follows a client-server architecture, with the server (also called Virtual DataPort Server) running in this remote instance you just connected to, and the client (also called the VDP Administration Tool) running in your local computer. The client installer is distributed from the running instance; you can find links to the installers and step-by-step installation instructions below.
Remember to follow the recommended security configuration settings below, in particular changing the default administrator password.
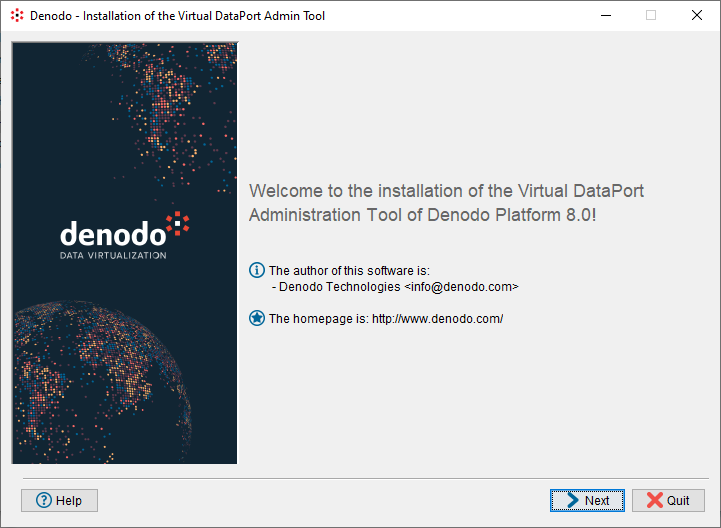
You can download the Denodo VDP Admin Tool installer from here:
Then you have to unzip the package and run the installer.
More instructions about installing the Denodo VDP Client.
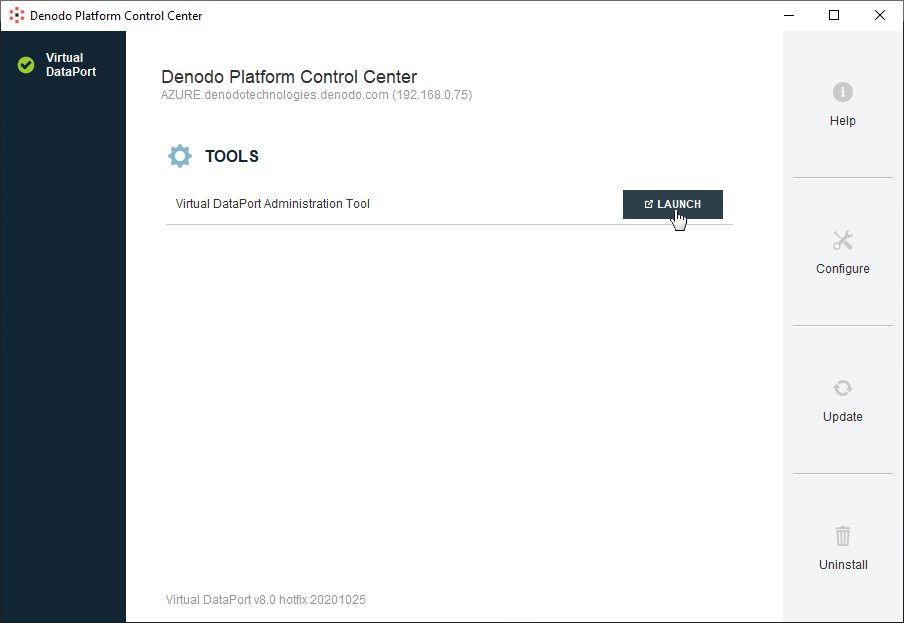
Run the "Denodo Platform 8.0" shortcut to open the Denodo Platform Control center; click on the "Virtual DataPort" section on the top left corner; and launch "Virtual DataPort Administration Tool". This will open the remote client.
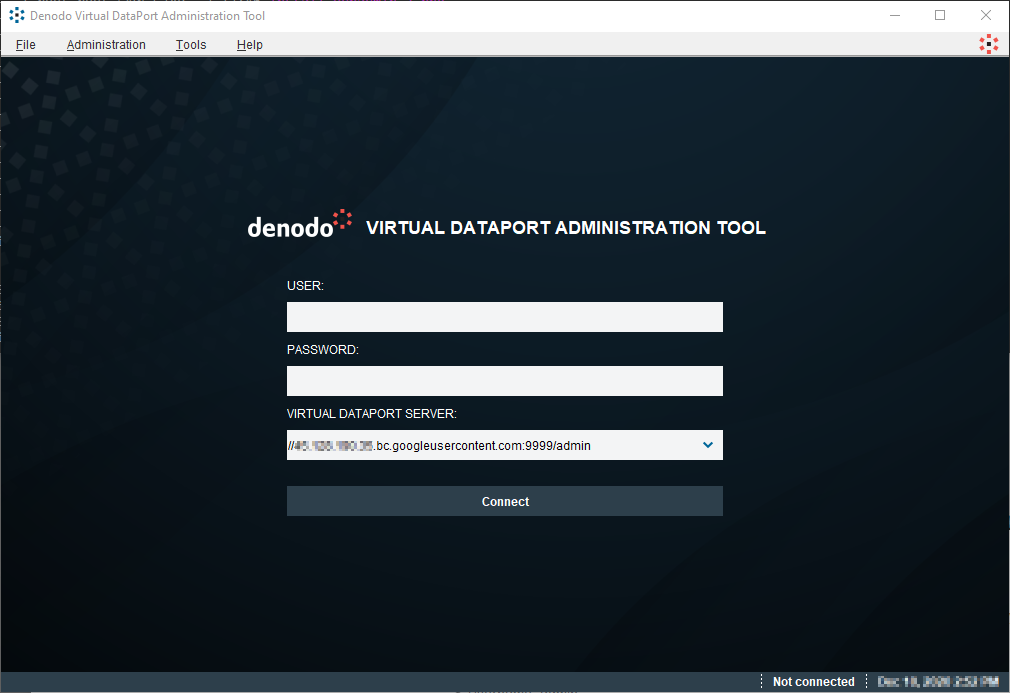
Once the graphical administration tool starts, it will prompt you for the connection details for the remote Denodo Platform server. Use the following details:
Check out the quick start guide for detailed instructions on how to start using the Denodo Platform deployed in GCP, then head out to our developer community to access all the available learning resources (https://community.denodo.com).
More instructions about running the Denodo VDP Client.
Denodo Virtual DataPort Server is configured, by default, to be started at instance boot time, so it should be already running in your instance. In case that you want to manually restart the services follow these steps:
	sudo systemctl stop vqlserver
sudo systemctl start vqlserverIn addition to Virtual Data Port Server, Denodo Standard for GCP includes other services such as: Scheduler Server, Scheduler Web Admin, and Design Studio. Some of these services are not running by default to not overload the instance with services that may not be required. In case you decide to begin working with them, the procedure to start them is analogous:
sudo systemctl start [schedulerserver|schedulerwebadmintool|designstudio]You can configure these services to start at instance boot time with the command:
sudo systemctl enable [schedulerserver|schedulerwebadmintool|designstudio]Take into account that schedulerwebadmintool requires schedulerserver to be running and so do designstudio with regard to vdpserver.
Important Warning! Remember to set a new password for each service that you decide to work with following the steps in the reference manuals. You can log as administrator, type "admin" as login and copy the Password value from the Google Cloud Launcher console in the password field. Remember that there are several administrator accounts for vdp, scheduler tool, and webadmin tools.
Denodo Standard for GCP automatically configures Virtual DataPort Server (VDP) memory allocation the first time the virtual machine instance boots depending on the instance memory size, so that you don't have to set an appropiate value. As rule of thumb, it allocates half of the instance memory to VDP until it reaches 8GB, which is the maximum value of memory that will automatically be assigned to VDP.
In case that this automatic memory assignment is not the most suitable for your scenario, you can always set a memory scheme on your own. Follow these steps:
sudo systemctl stop vqlserver/opt/denodo/denodo-platform-8.0-linux64/conf/vdp/VDBConfiguration.properties the property java.env.DENODO_OPTS_START with the most suitable values for your case (i.e. 4GB):
sudo -u denodo vim /opt/denodo/denodo-platform-8.0-linux64/conf/vdp/VDBConfiguration.properties Xms and Xmx parameters:
	java.env.DENODO_OPTS_START=-server  -Xms4096m  -Xmx4096m  -XX:+DisableExplicitGC
-XX:+UseG1GC -XX:ReservedCodeCacheSize=256m sudo -u denodo /opt/denodo/denodo-platform-8.0-linux64/bin/regenerateFiles.sh sudo systemctl start vqlserverSign-up for accessing the Denodo Platform Support services that are included with your Denodo Platform for GCP license.
Now that you can connect to your new virtual machine there are a couple of optional steps that we recommend you to take in order to improve the security of your GCP deployment. These involve modifying the default network setting to disable the public httpd server that is displaying this page.
As the first step of the configuration of your new Denodo Platform instance you should change the administrator password. It is extremely important that you change the default password to ensure that you are operating under a secure environment.
More instructions about changing the password.
To increase security, you can modify some components of the firewall rules that apply to your instance in Google Cloud, such as:
To do this, follow the steps in the GCP guide located at https://cloud.google.com/vpc/docs/using-firewalls
The general documentation about running your GCP instances in Google is available at https://cloud.google.com/compute/docs/instances/.
In order to provide secure communications among your clients and Denodo Platform services running on the GPC instance remember to follow the instructions in the installation guide.
The Denodo instance that you are currently connected to is using a public httpd server to display this page, which contains instructions and installers. When you are done setting up your client installation we recommend you to disable the server. This is accomplished in two steps:
	sudo systemctl stop httpd
sudo systemctl disable httpdWhen a Denodo for GCP instance starts, a startup script sets some values to allow connections to the public GCP address or hostname. If the instance has no public address then you can connect to the instance using the private hostname (something like instance-name.c.denodo4gcp-dev.internal).
To change the default values set by the startup script you can modify the following properties in the /opt/denodo/etc/denodo.properties configuration file:
DENODO_RMI_HOSTNAME=my_hostname.my_domain.com

                         DENODO_RMI_ADDRESS=x.y.z.t
One or both properties can be set depending on the method that will be used to connect to the GCP instance, the host name or the IP address.
Once these properties are set, the new configuration has to be updated by restarting the vqlserver service.
	sudo systemctl stop vqlserver
	sudo systemctl start vqlserver
You can check Denodo Platform Knowledge Base article: RMI host configuration for more information.
By subscribing to this product you agree to terms and conditions outlined in the product End User License Agreement (EULA).